Esri’s Story Maps is one of the most fun tools! You can quickly and easily create sophisticated digital projects that include text, maps, images, video, and sound. The ease of Story Maps makes it ideal for scholars and students alike. I often use Story Maps to host syllabi or other projects. In what follows, we will create a story map. You can create several different kinds of Story Maps, but we will start from scratch.
-
Create a login and password for Story Maps.
-
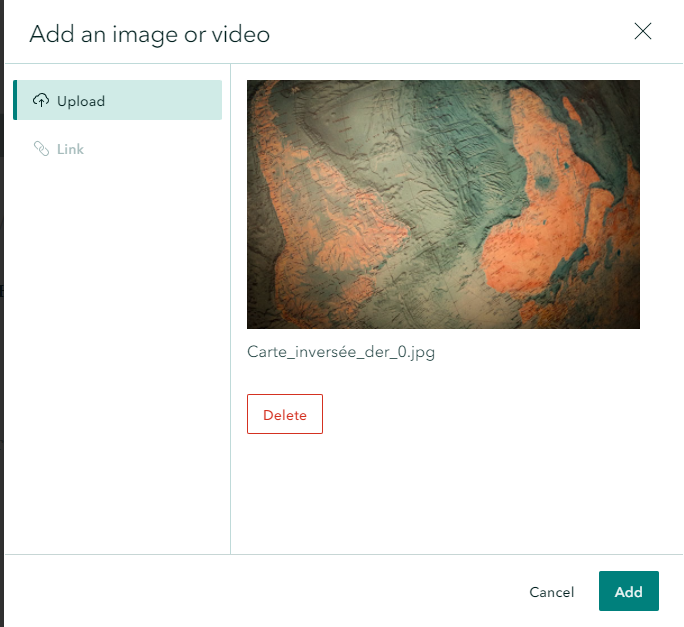
Create a New Story Map from scratch. The first thing we’ll want to do is add a header image. This should be a high resolution image. Save the image and navigate to it using the Browse your Files option.
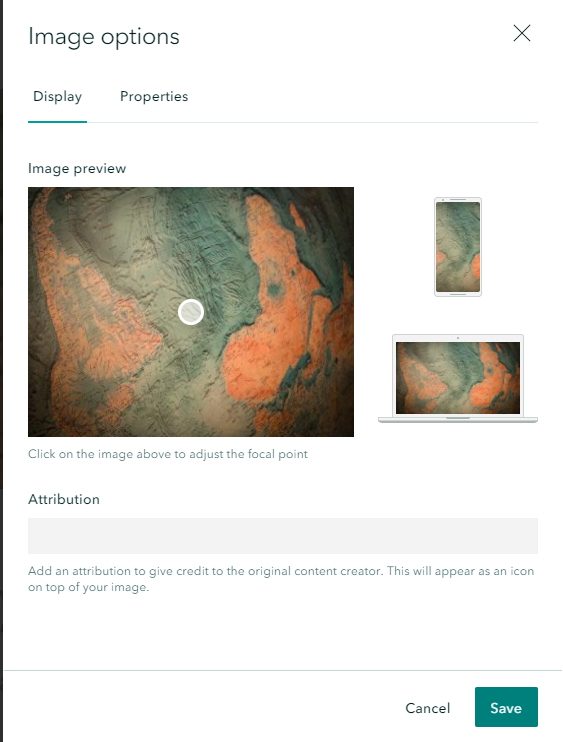
- Use the gear button to change the settings for your Story Map’s first image, including adding alt-text.
- Click Design to change the color scheme and navigation options for your Story Map.
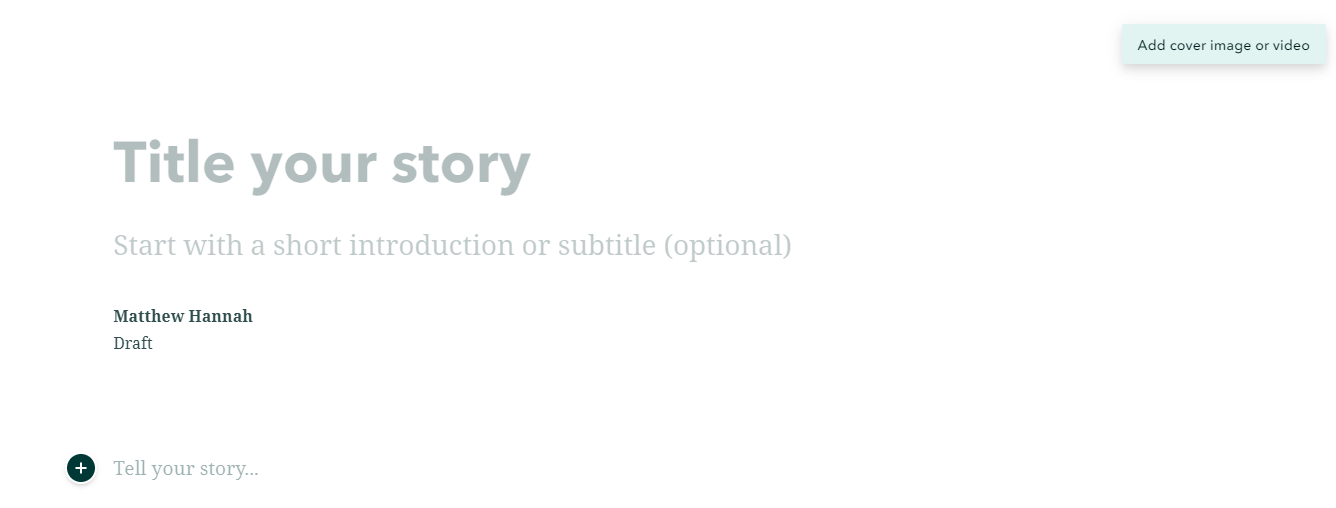
- Give your project a title and subtitle.
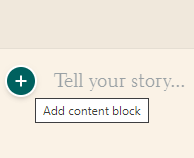
- You can easily add new content such as text, video clips, audio, or other items by clicking the plus sign.
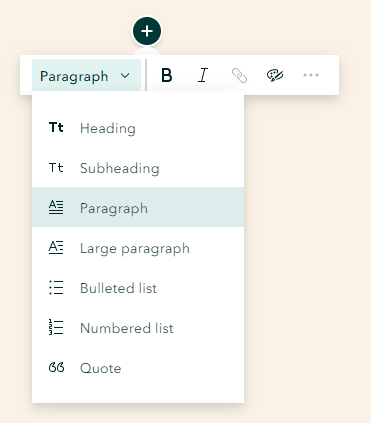
- If you select text but change the text size from paragraph to header, you can add a navigation link to the top of your project. This allows a reader to click through your project (like a webpage).
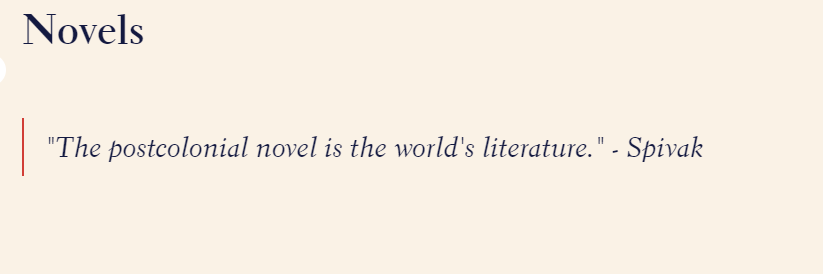
- Then you can add images or content in that area. Such as a quote perhaps.
- Or an image?

- You add various content blocks that can be arranged in various ways.
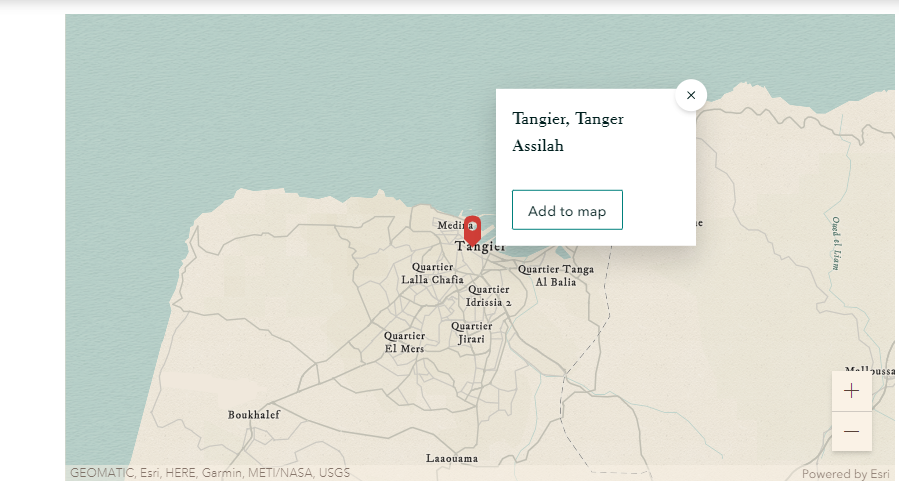
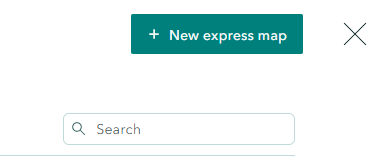
A Note on Maps! One of the coolest aspects of Story Maps is the possibility of embedding an interactive map into your project. This takes a few extra steps but is worth it! If you don’t already have maps with data, saved in ArcGIS, you will want to create an express map:
You can either work in ArcGIS Online and save your maps which will make them available to you in Story Maps OR you can create a map from scratch by adding locations through the search.